
Getting started
This guide takes you from installing Bugbane to reading your first analysis results. It takes about 15 minutes.
Before you start #
- Read the Risks and warnings first. If you are at physical or serious personal risk, stop here and contact a helpline from a safe device instead.
- You need Android 11 or newer.
- Connect the device to a trusted Wi-Fi network: your home network or a personal hotspot created by another phone or computer you trust. Never use public, shared, or unencrypted Wi-Fi.
1. Install the app #
Install Bugbane (beta) from one of the trusted sources on the homepage: F-Droid, Google Play, or the APK from GitHub Releases (directly or via Obtainium).
2. Follow the wizard #
Open the app. The welcome screen reminds you of the most important limit: no findings does not mean your device is safe. Tap “I understand”.
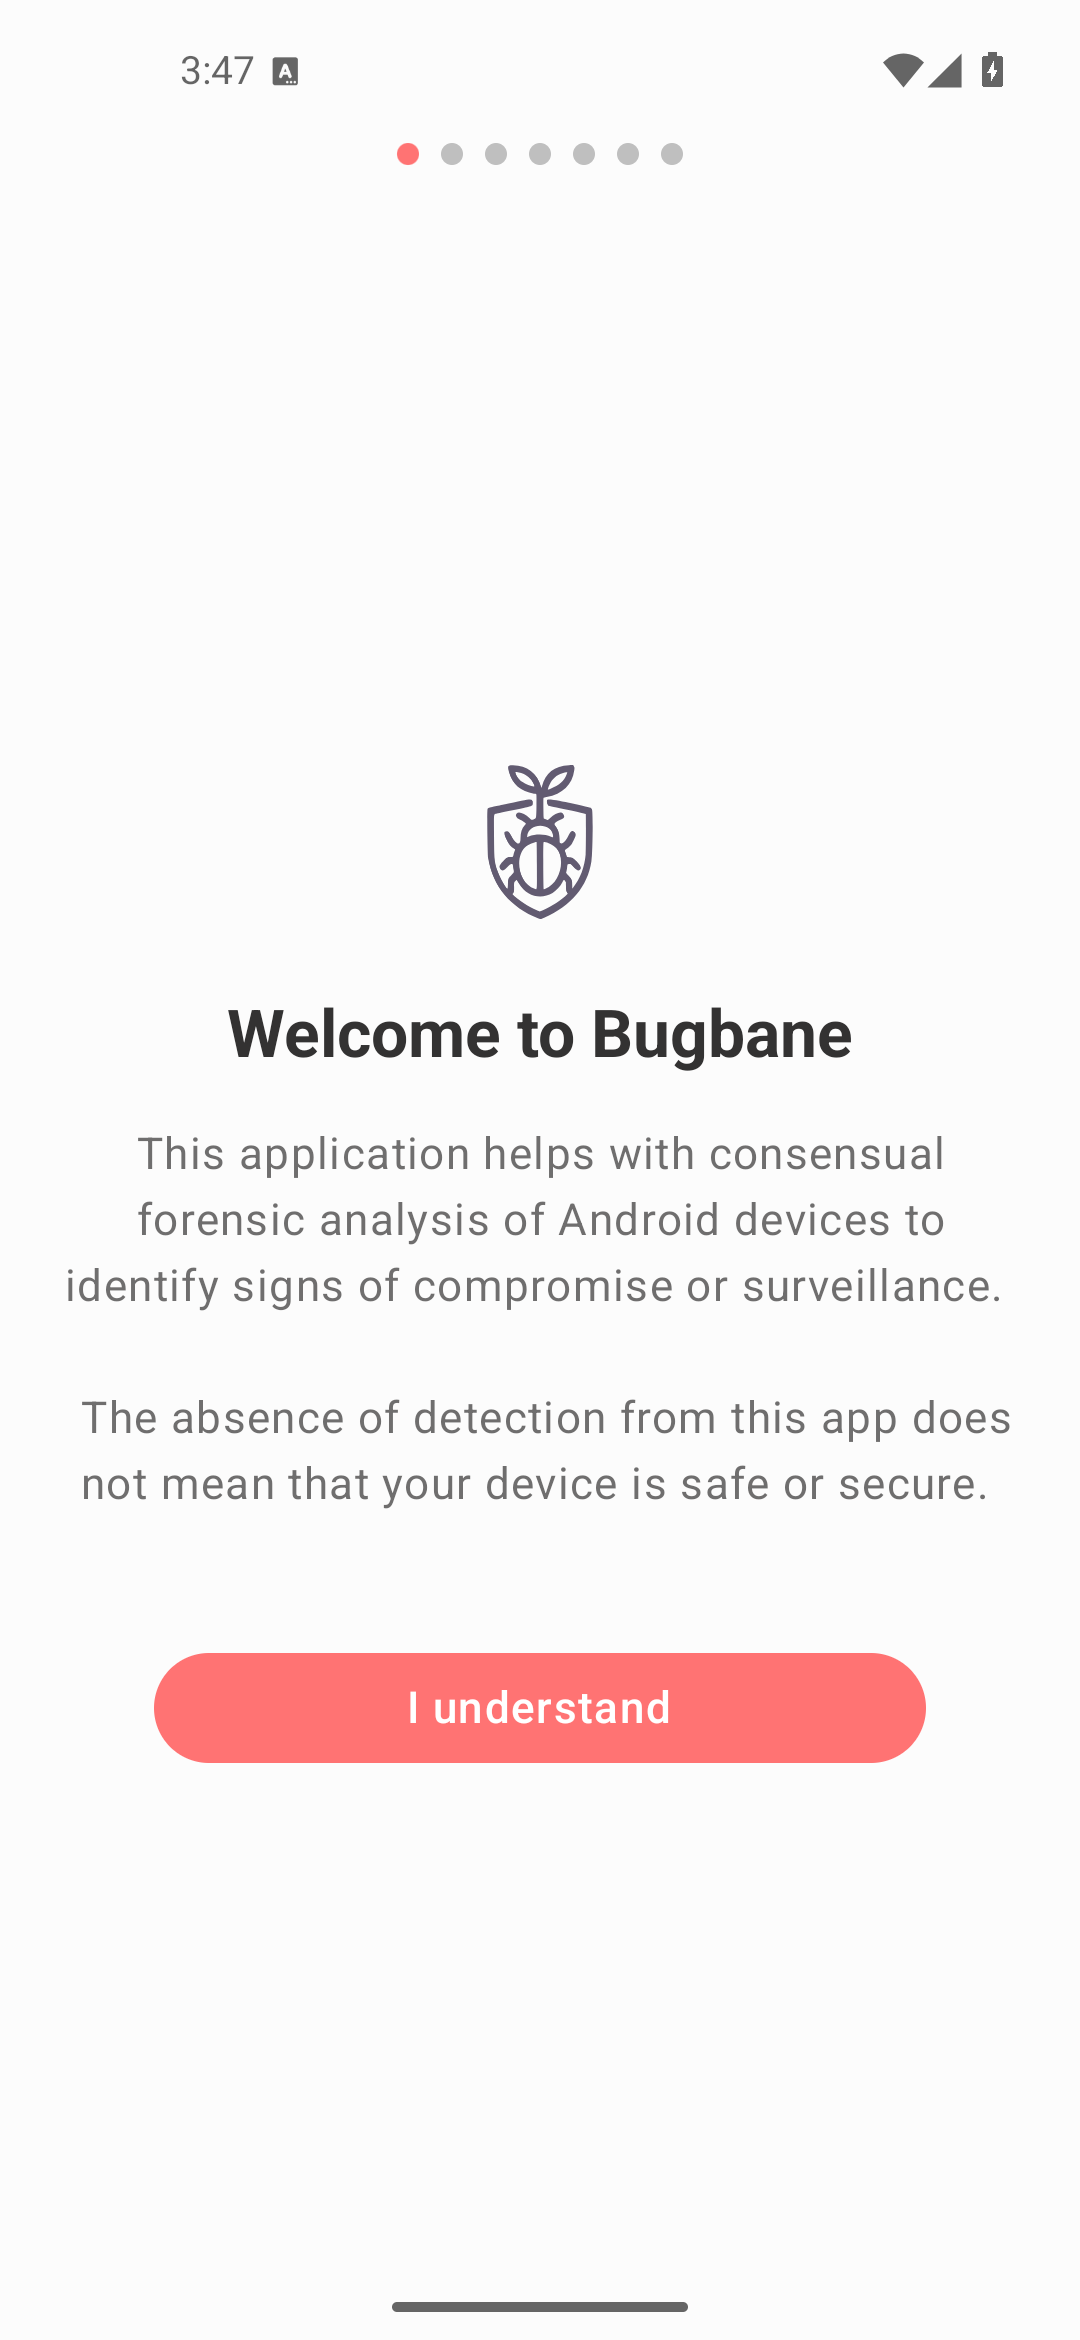
The wizard then walks you through the setup, one screen at a time:
- Connect to a Trusted Wi-Fi Network: tap “Open Wi-Fi Settings” if you are not connected yet.
- Enable Notification Permissions: tap “Enable” and allow notifications. Bugbane uses a notification to let you type the pairing code later, so this step is required.
- Enable Developer Options: tap “Enable”. You land in Android’s settings: scroll to the bottom, find Build number, and tap it seven times in a row, until Android says you are a developer. You may be asked for your PIN.
If a security warning appears (“Your device needs an update”): your device is missing the fix for CVE-2026-0073. Install system updates first if you can. If you cannot, continue only on a personal hotspot, and turn Wireless Debugging off as soon as you are done. Tap “Continue” only after making sure that the current Wi-Fi network is trusted, and that you understand what is described on the dedicated page.
3. Pair with your device #
Bugbane needs to pair with your device’s Wireless Debugging interface, using a 6-digit code that Android shows in Settings and that you type into a Bugbane notification.
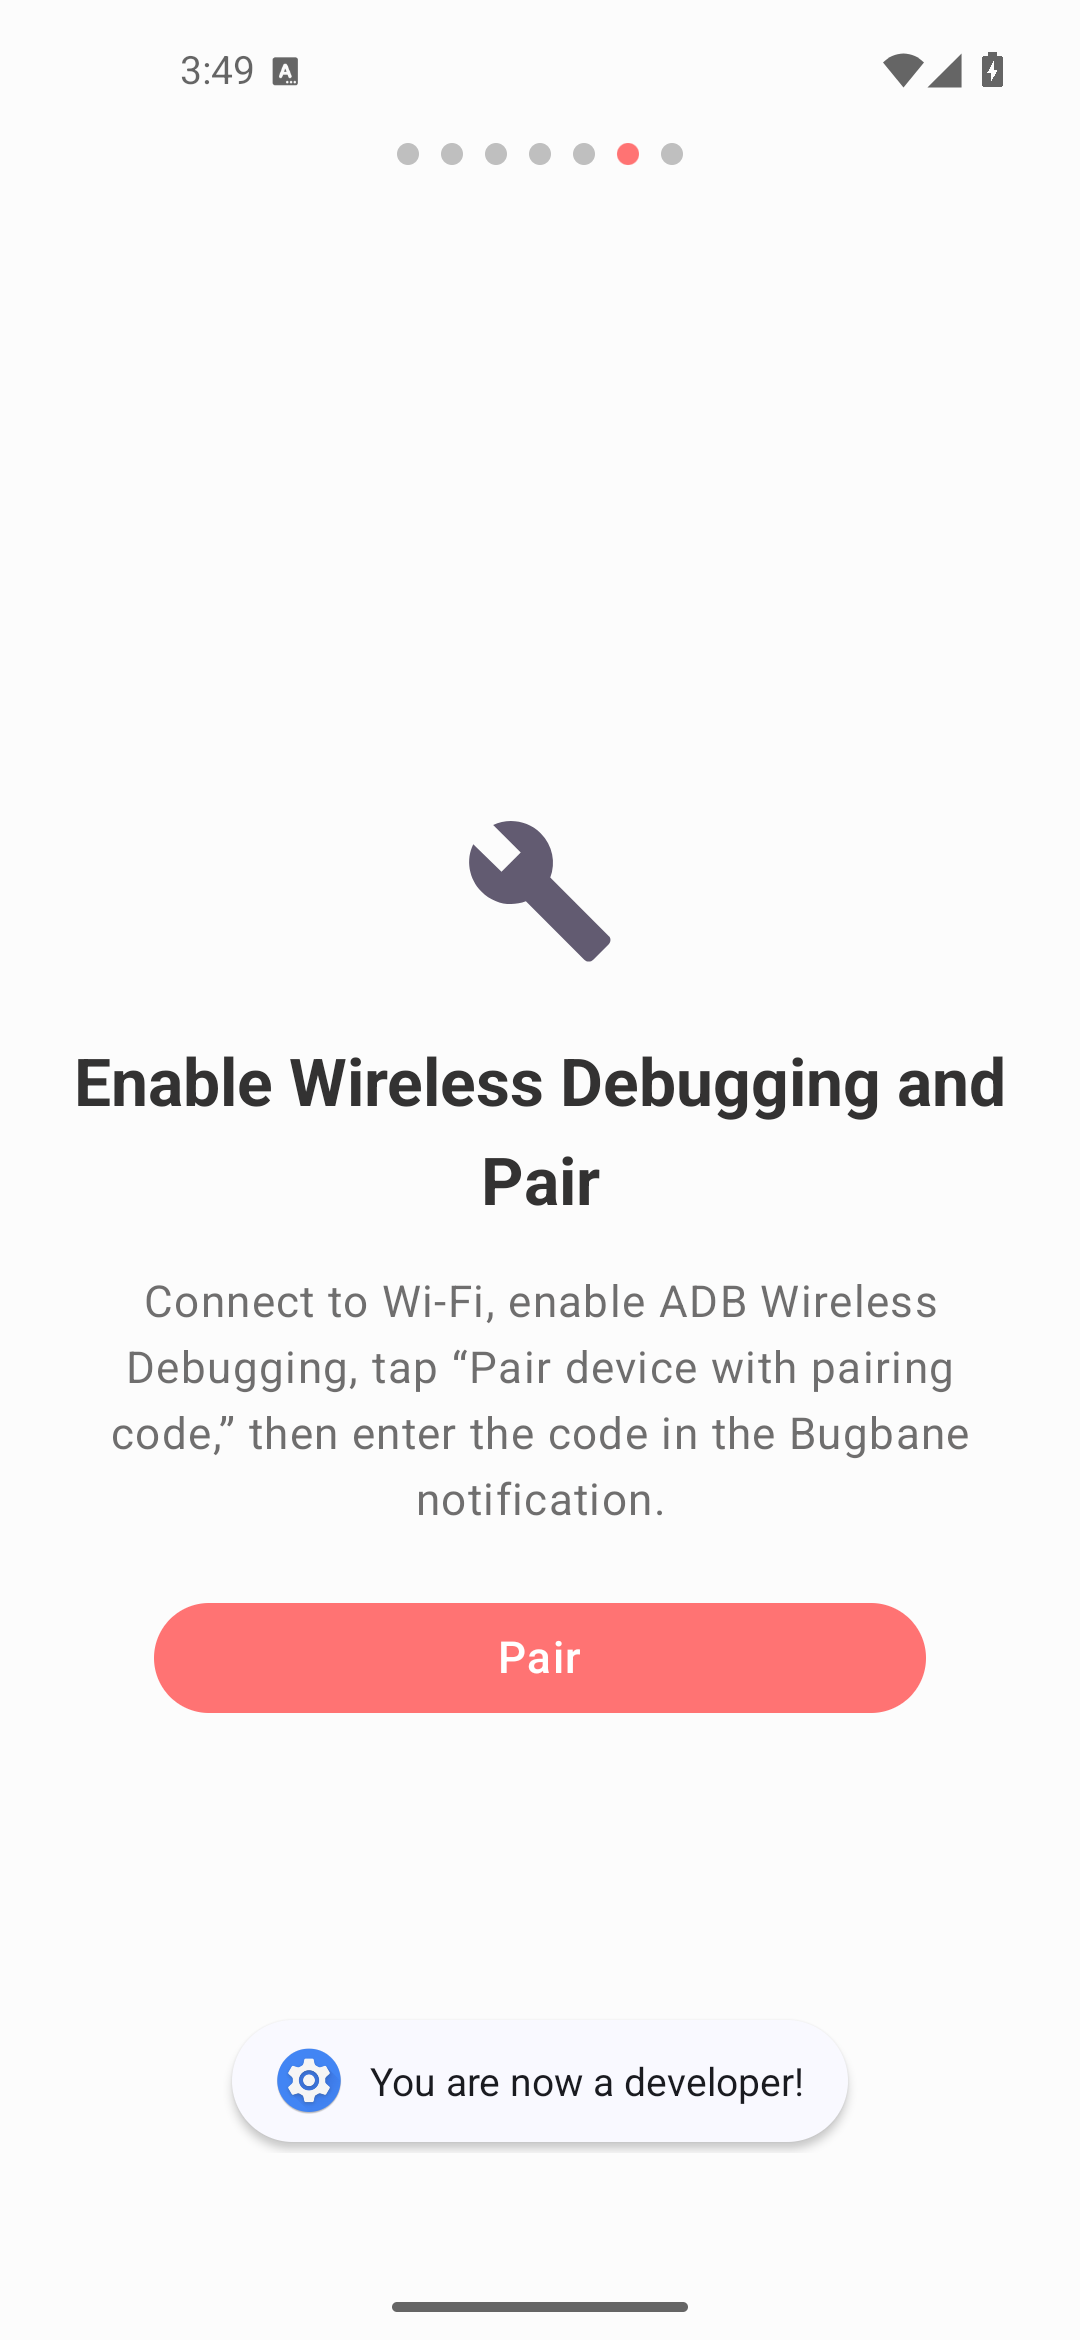
- On the “Enable Wireless Debugging and Pair” screen, tap “Pair”. Bugbane opens Android’s Developer options.
- Scroll to Wireless debugging, enter it, and turn it on. Confirm the network dialog if one appears.
- Tap “Pair device with pairing code”. Android shows a dialog with a 6-digit code. Keep this dialog open.
- Swipe down to open your notifications. Bugbane shows “ADB pairing service found”: tap “Enter pairing code”, type the 6 digits, and confirm.
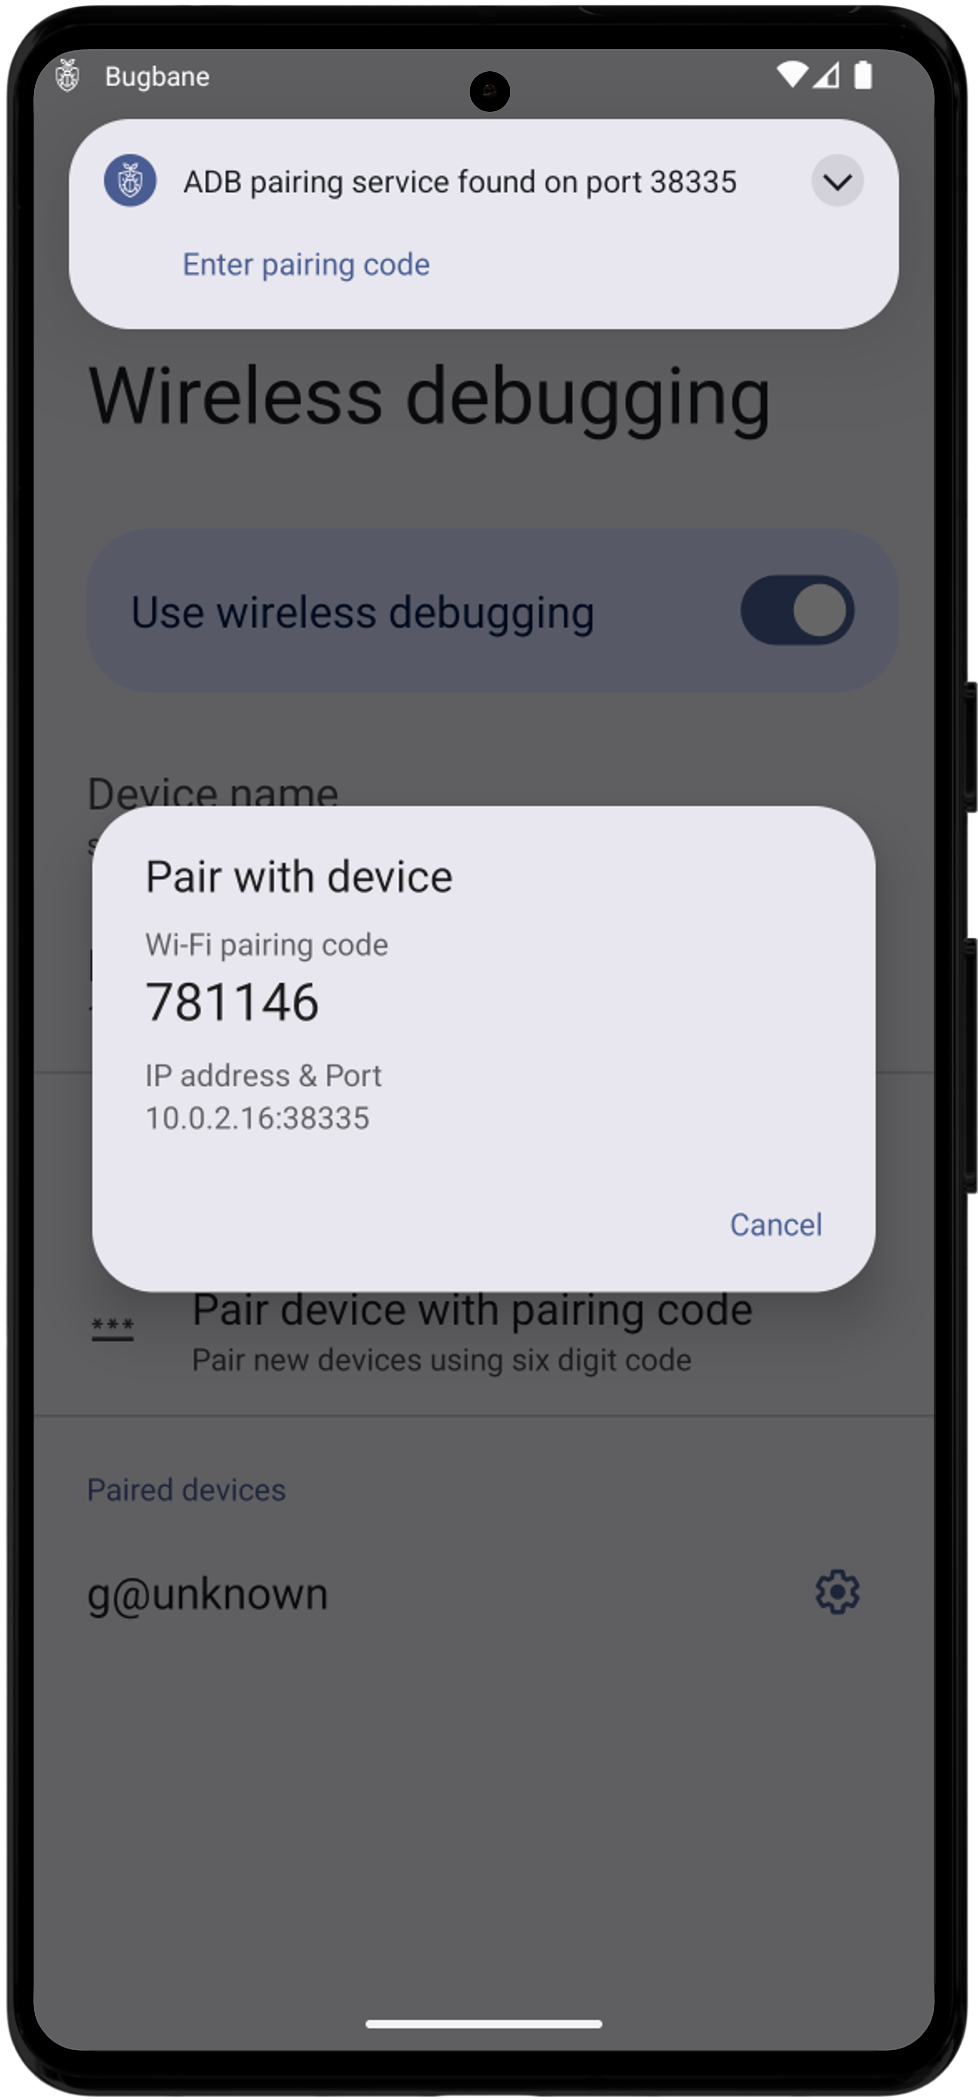
You get a “ADB Pairing Successful” notification, and the wizard moves on.
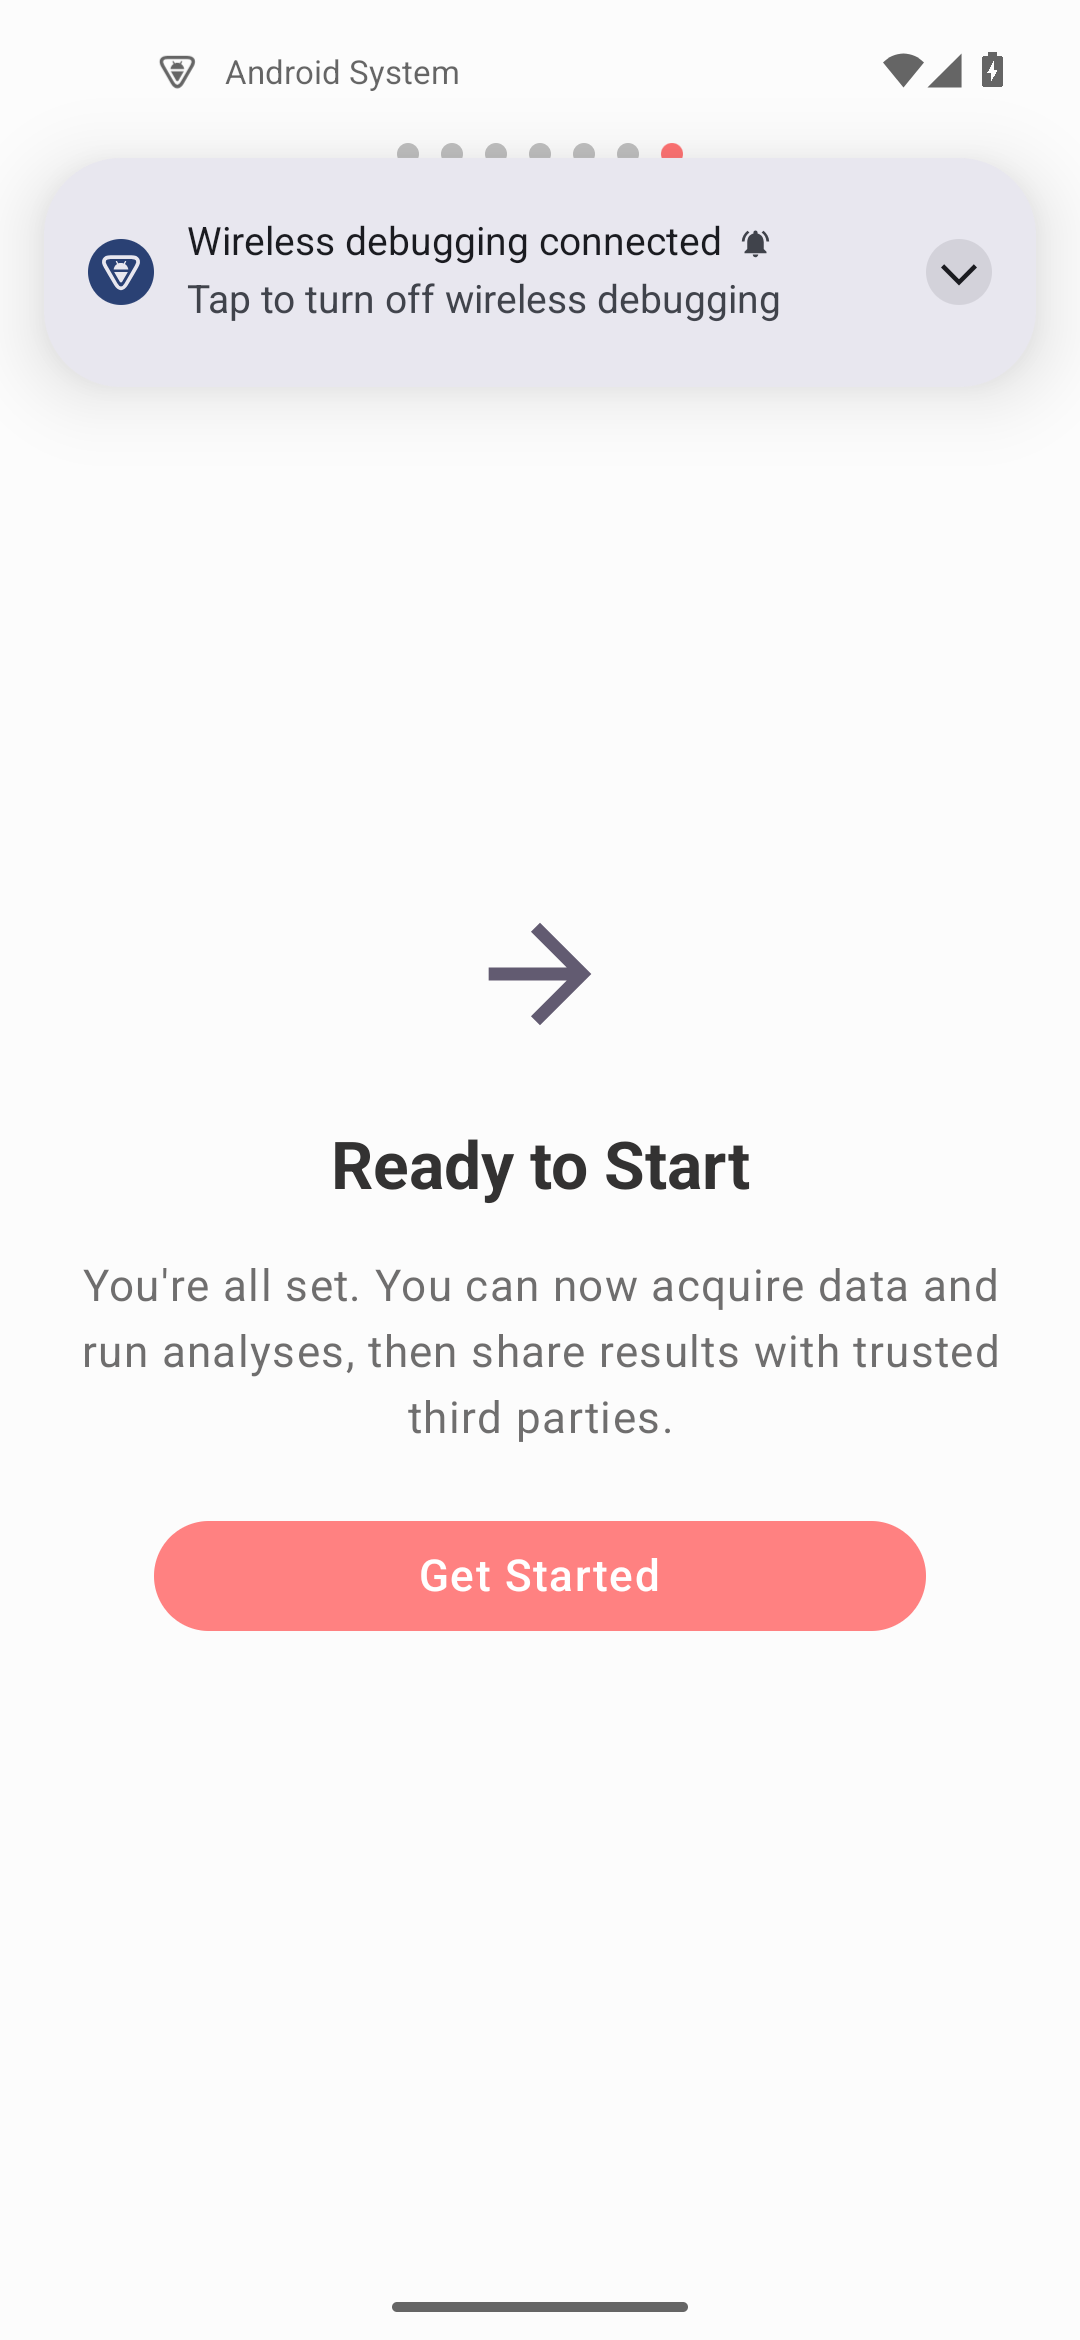
When you see “Ready to Start”, tap “Get Started”.
4. Run an acquisition #
On the Acquire tab, tap “Start Acquisition”.
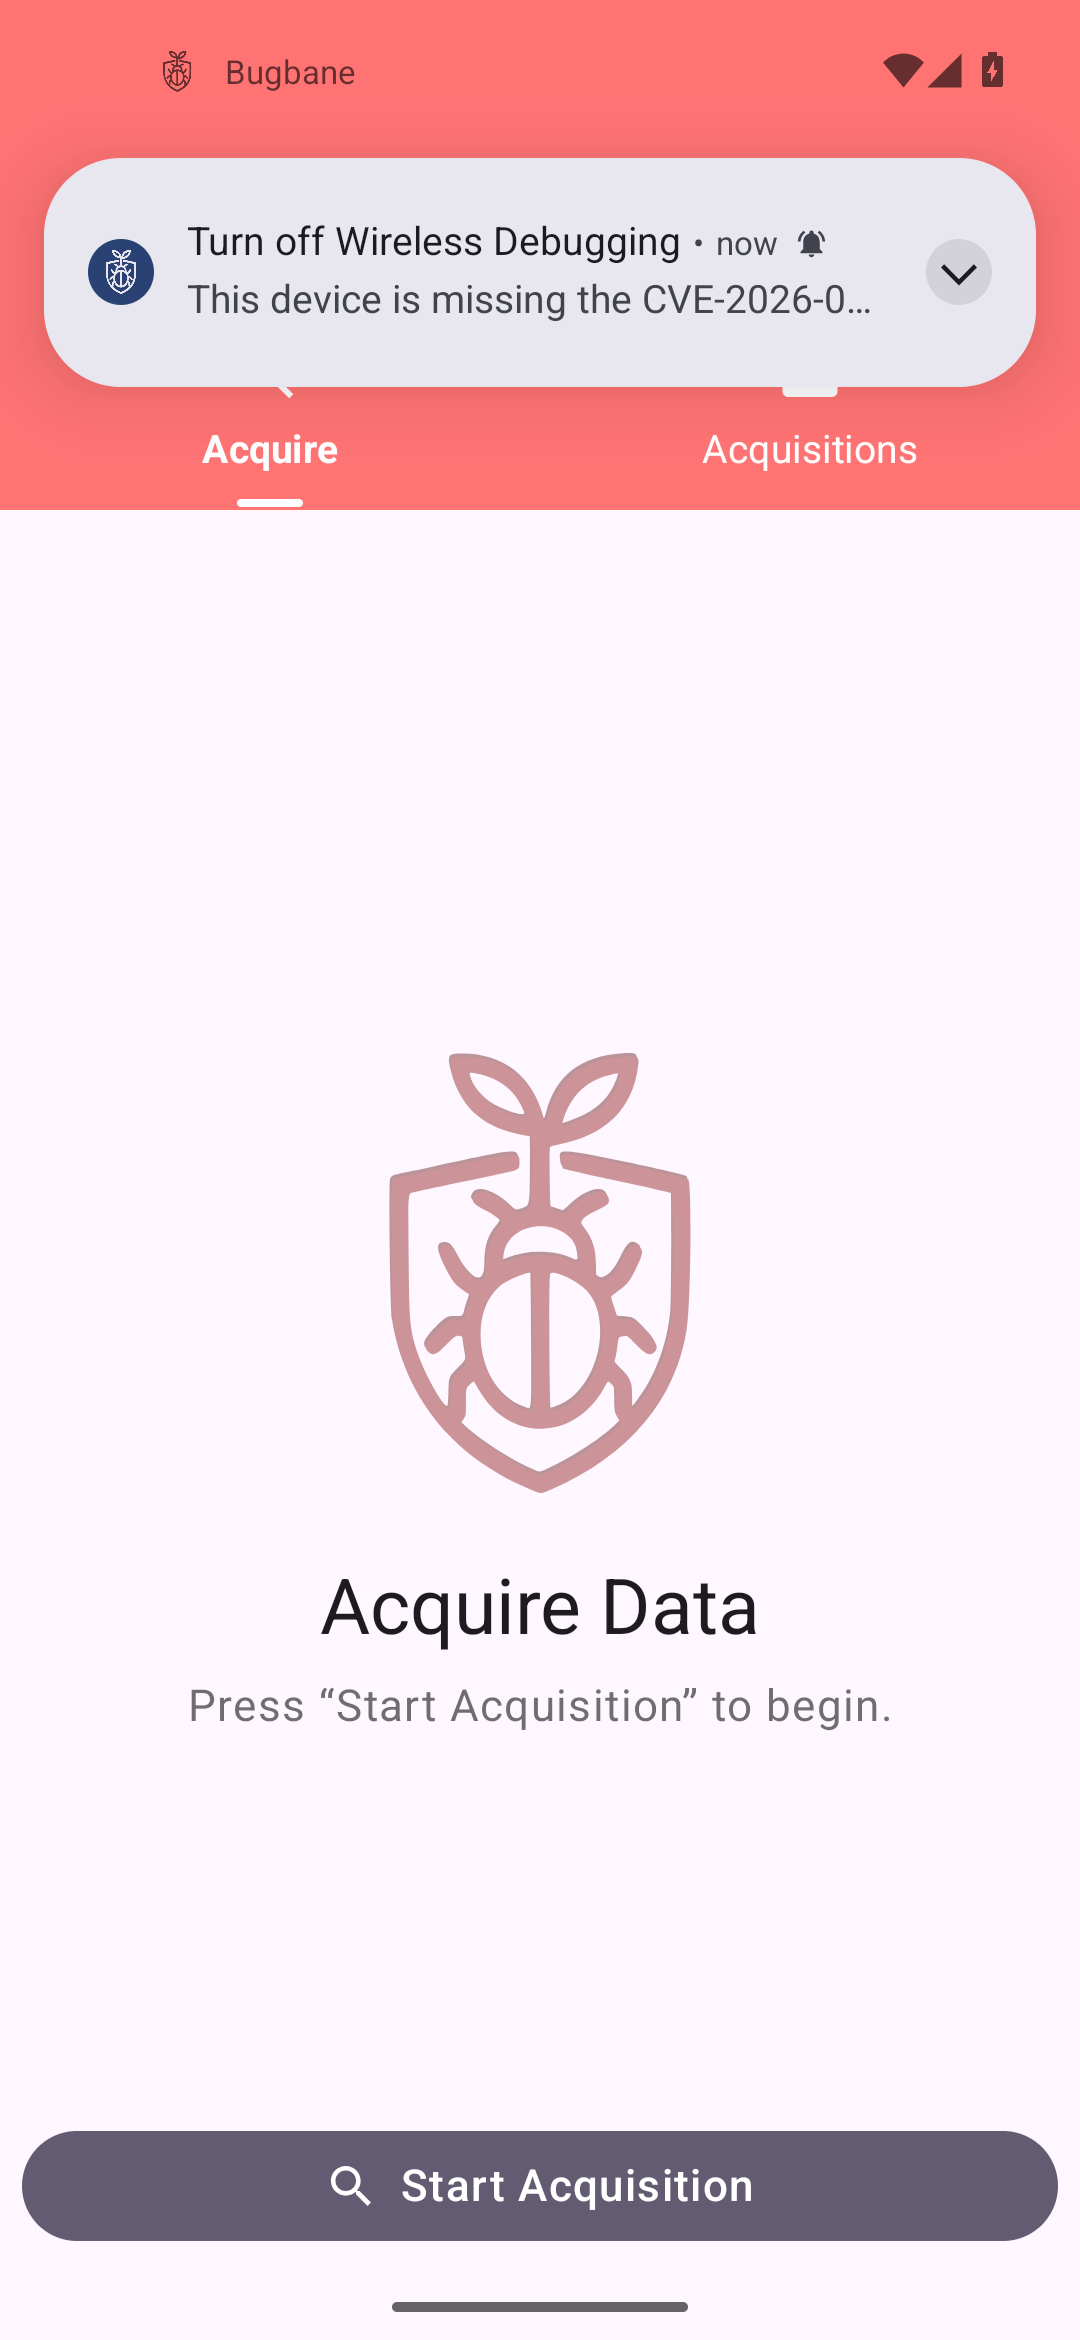
The app collects data module by module and shows its progress. It usually takes a few minutes. Keep the app open and the screen on until it finishes.
- If your device is low on storage, Bugbane skips the largest modules and tells you which ones. Free up space and acquire again if you can.
- If some modules fail, the acquisition is still saved and marked incomplete. You can find it in the Acquisitions screen and run another acquisition.
When the acquisition ends, Bugbane recommends disabling Developer Options until the next session. Follow this recommendation; you can re-enable them the next time.
5. Protect your acquisitions #
After your first acquisition, Bugbane asks you to protect the stored data: first by confirming your screen lock, then by offering an acquisition password.
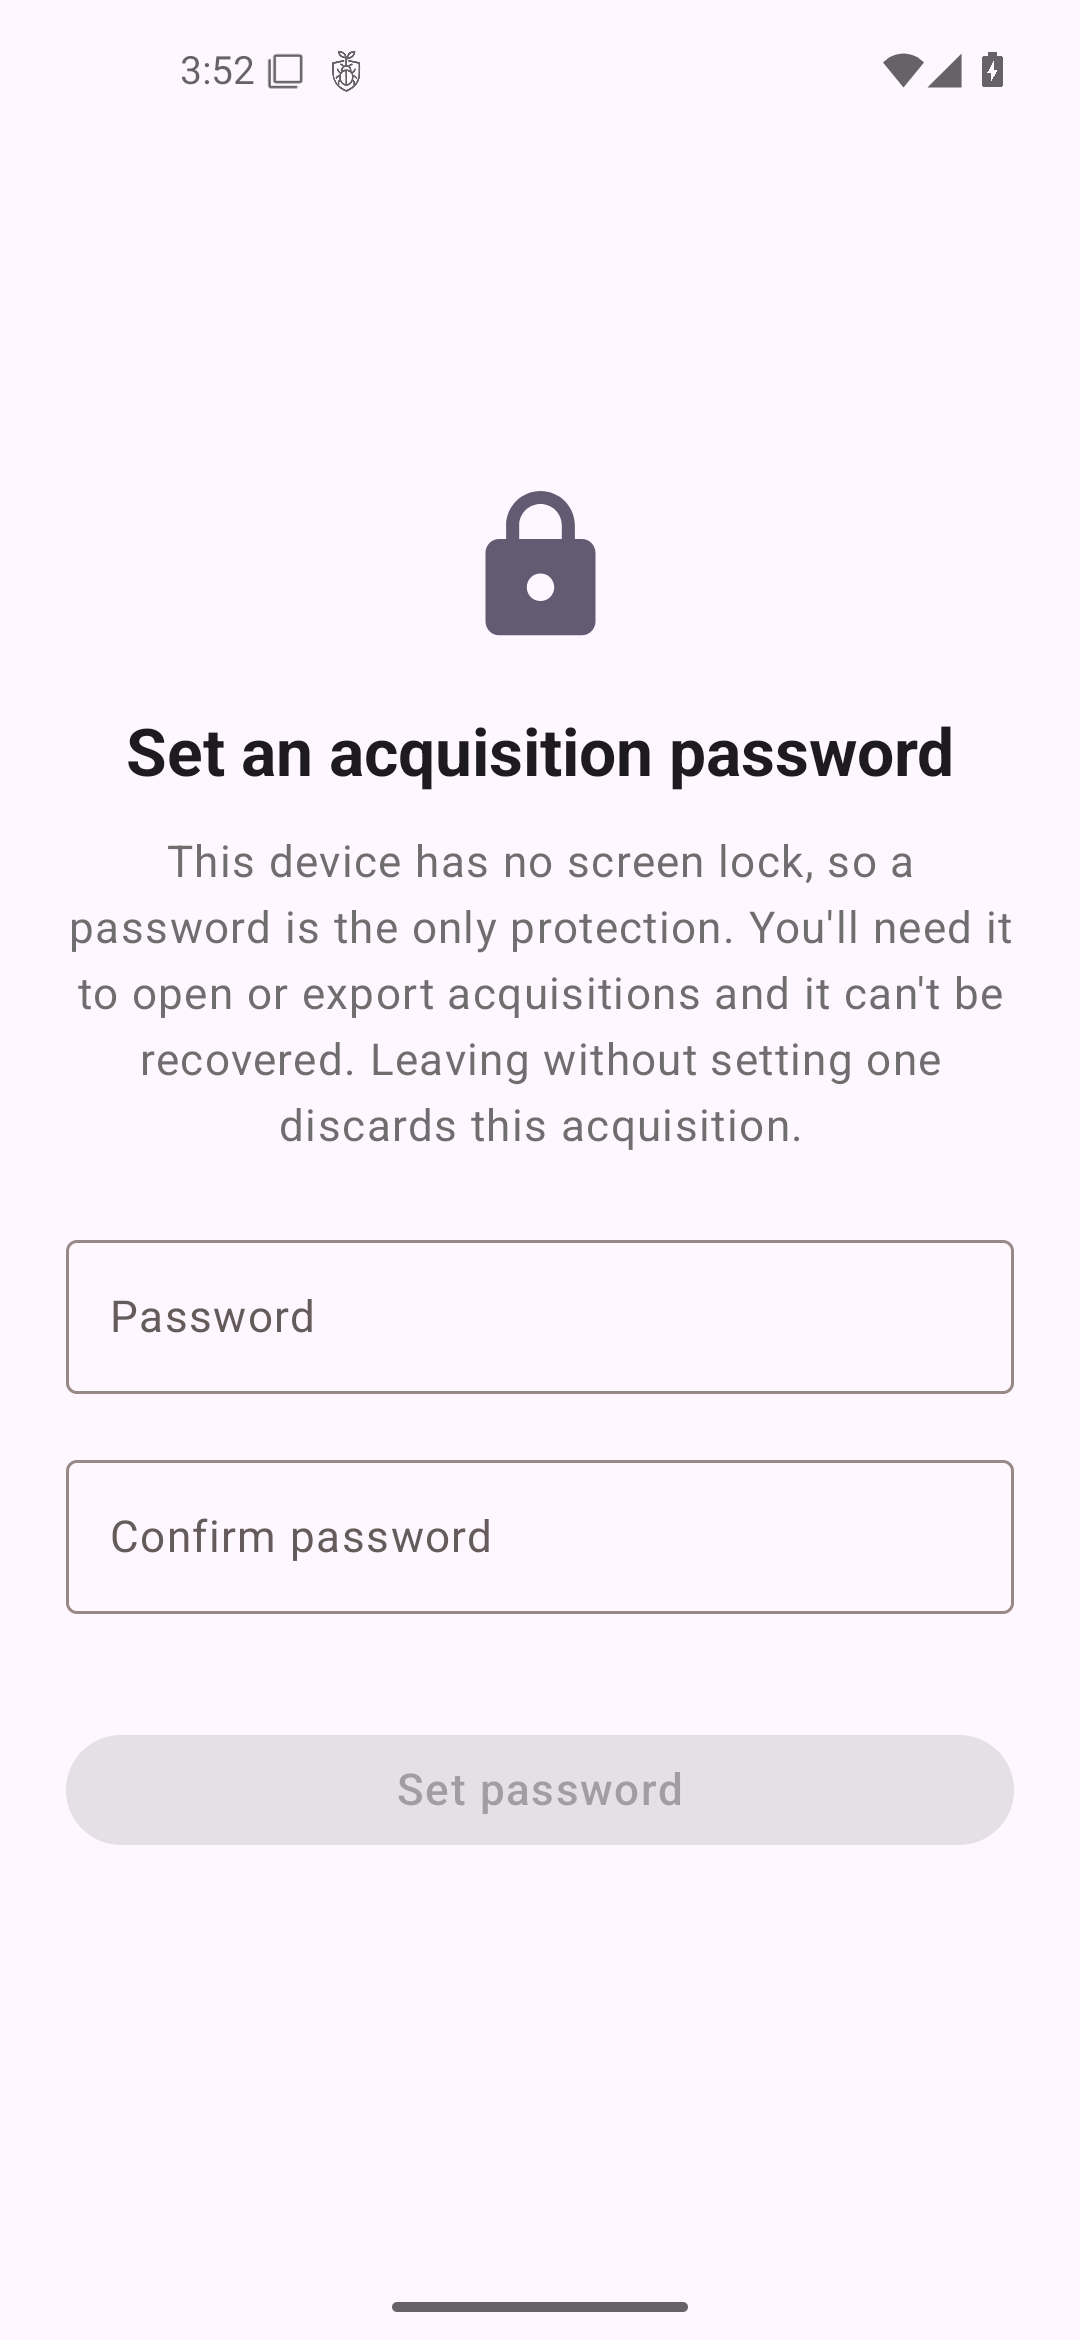
Acquisitions are always encrypted. The password adds a second, independent layer: even someone who can unlock your phone, or a forensic extraction tool, cannot read your acquisitions without it. If you think you are at risk of non-consensual forensics, set it, and choose a long, unique password.
You can skip this step (“Not now”) and set, change, or remove the password later from the app settings.
6. Run the analysis #
Open the Acquisitions tab and tap your acquisition. In the Acquisition Details screen, tap “Run Analysis”.
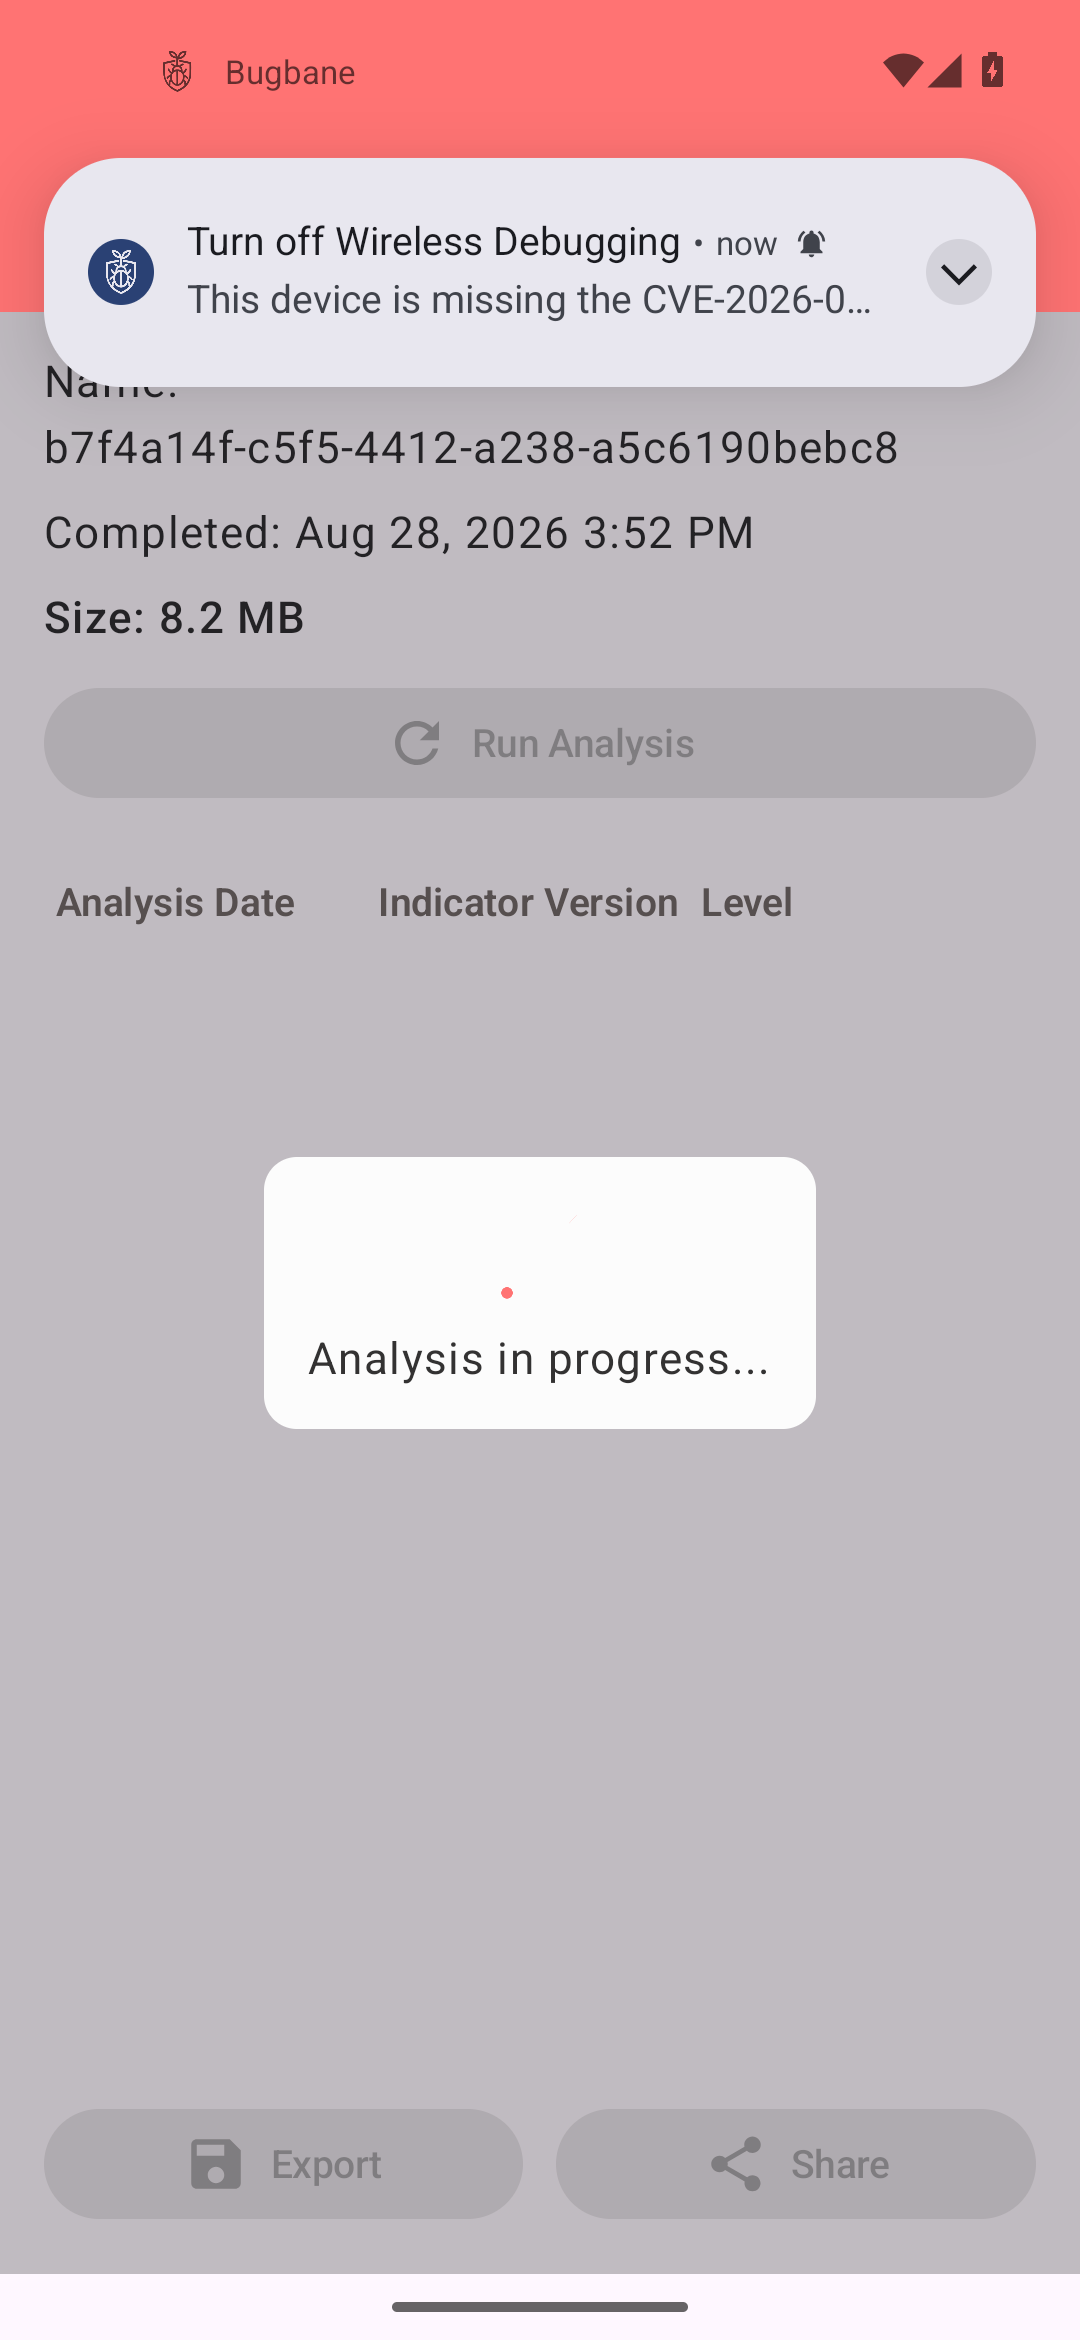
The scan runs locally, against the latest indicators the app has. When it finishes, a row appears in the analyses table with the date, the indicator version, and the highest level found.
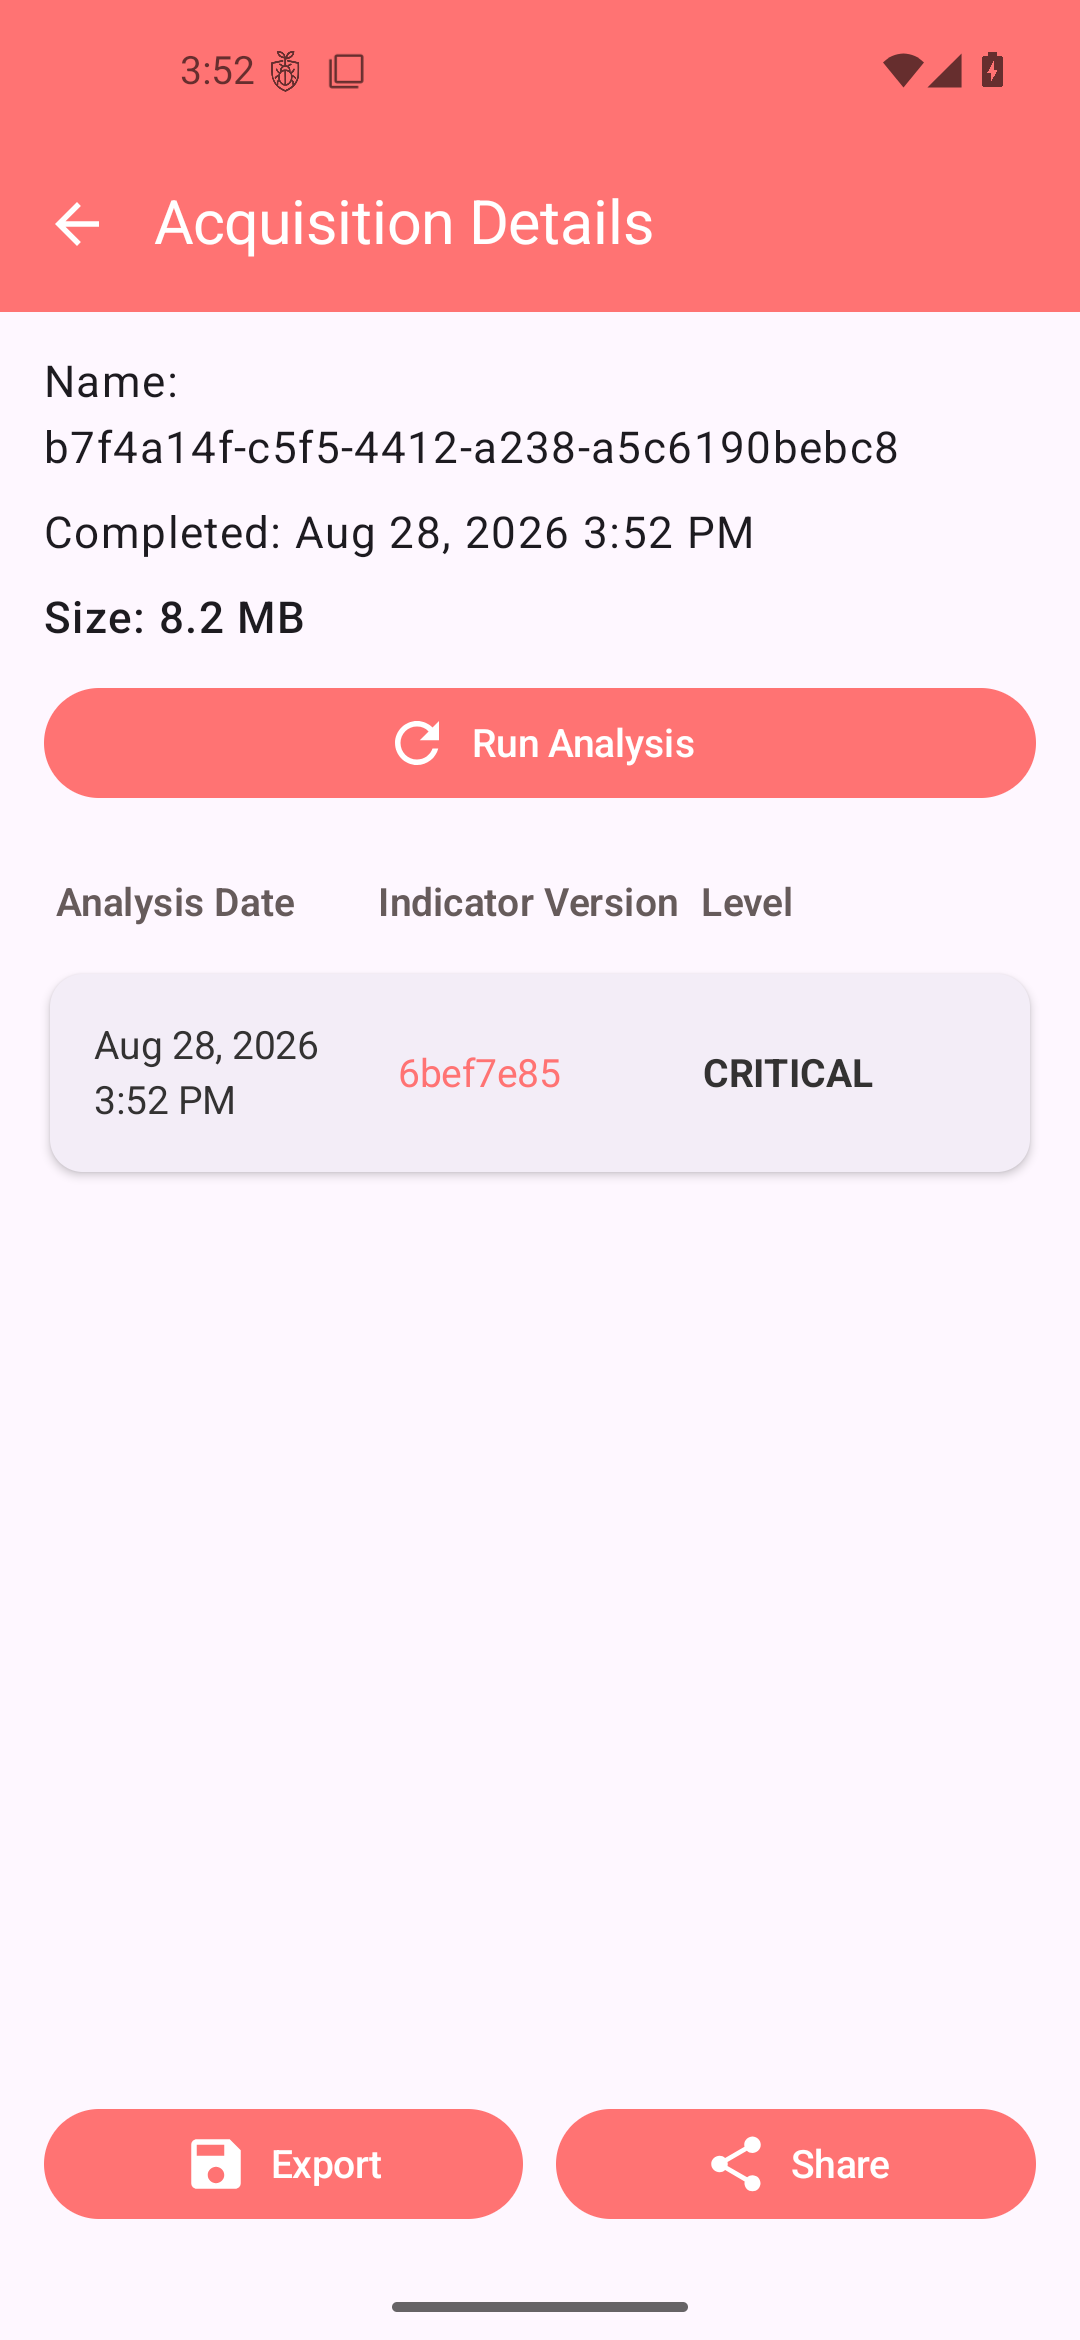
7. Read the results #
- CRITICAL or HIGH: something matched a known indicator of compromise. Do not panic, and do not delete anything: the acquisition and the current state of the device will be needed for further analysis. Contact a support helpline operating in your country, or people you trust with this information.
- MEDIUM, LOW, INFO: findings worth a look, but often with a legitimate explanation. If in doubt, ask for help.
- No findings: remember, this does not mean your device is safe. Keep the acquisition: you can tap “Run Analysis” again in the future, when updated indicators may find past notable events.
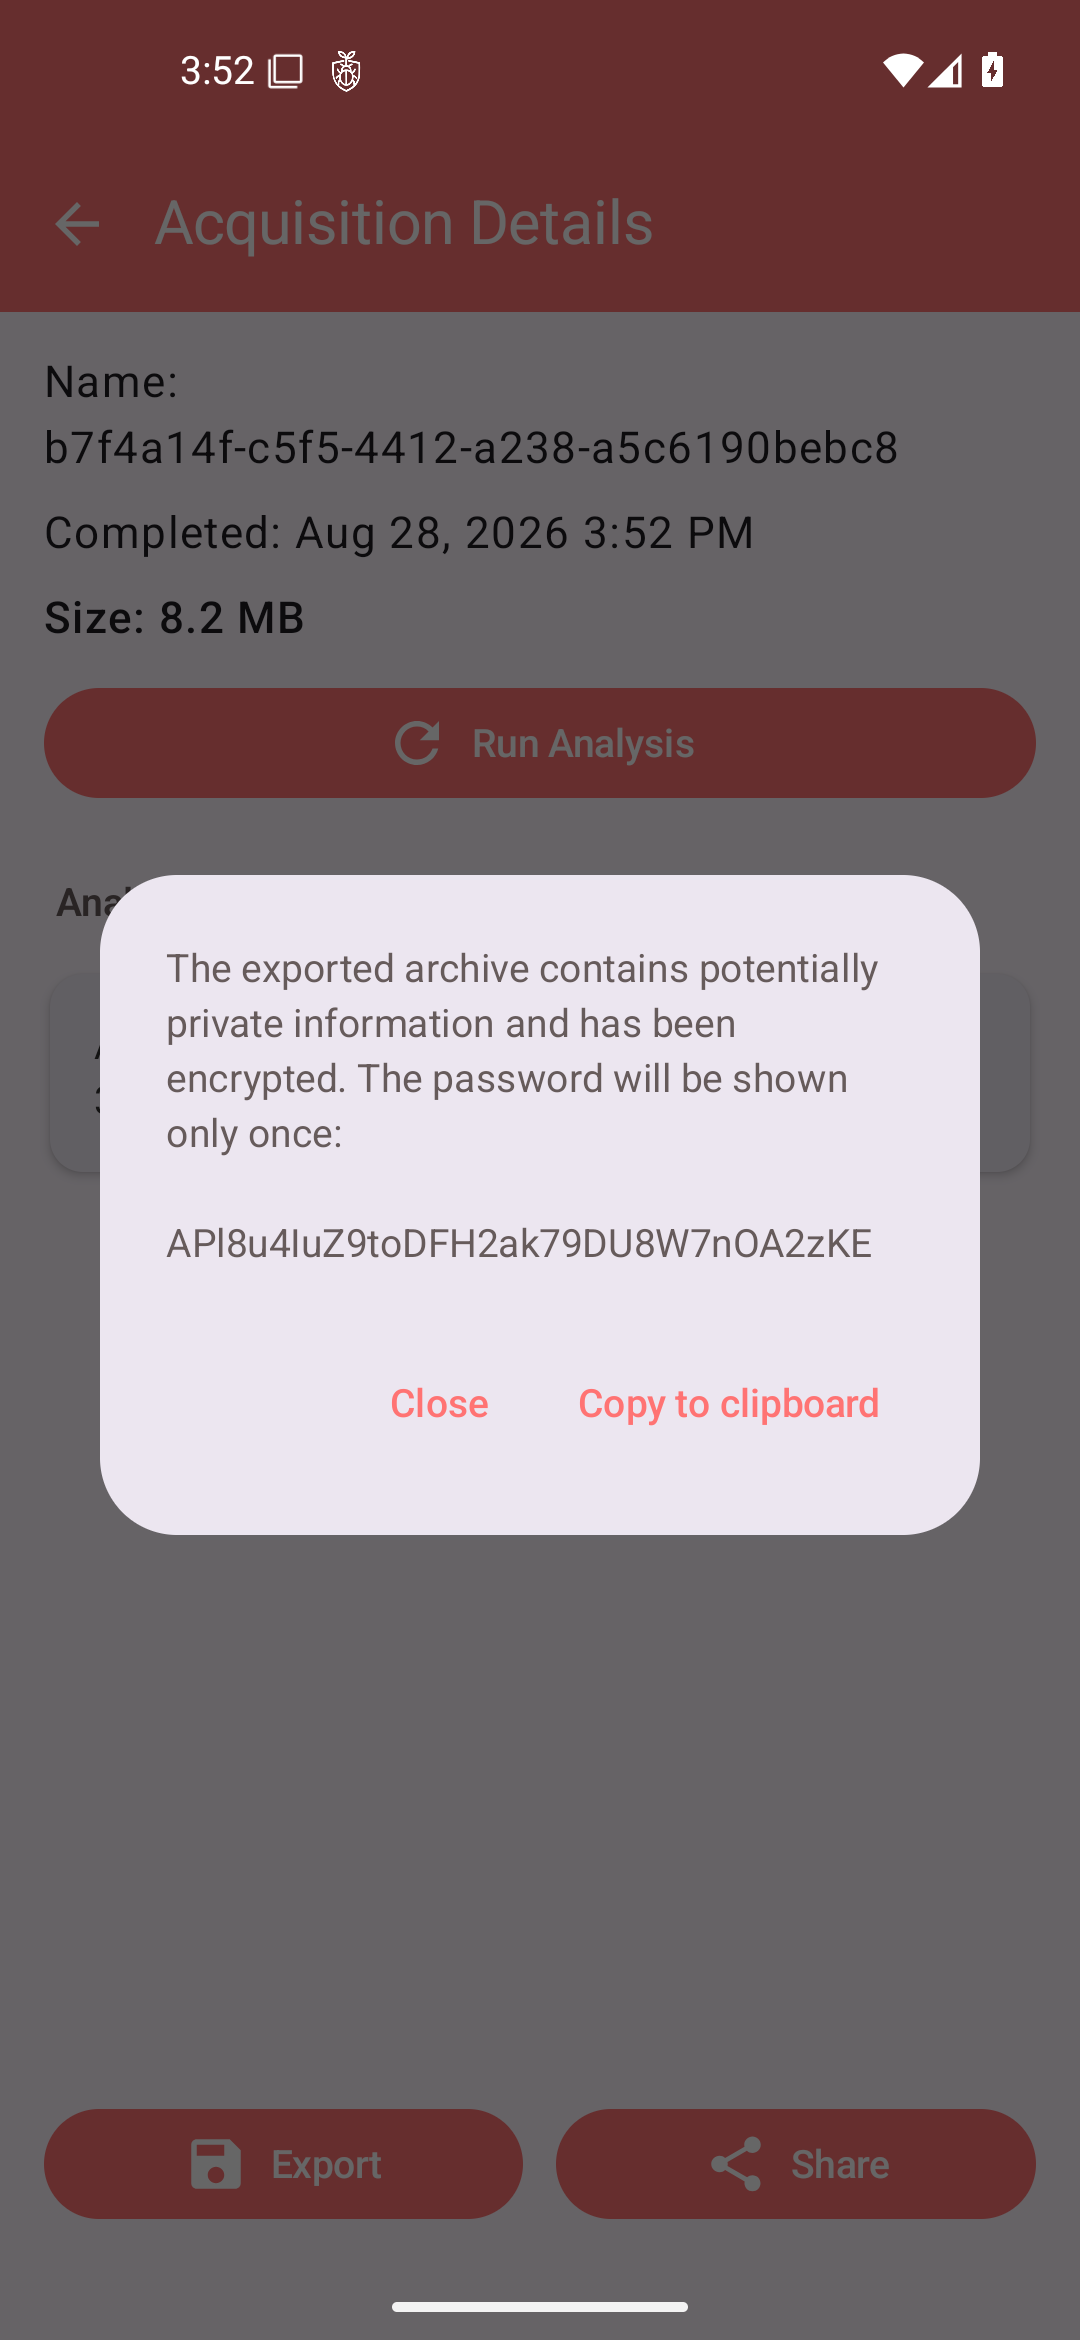
To share an acquisition with an analyst, use the Export or Share buttons. The archive stays encrypted and Bugbane shows you its passphrase only once: save it somewhere safe, and always send the passphrase through a different channel than the archive itself. Details in Exporting and sharing.
After each session #
Two things, every time you finish using Bugbane:
- Turn Wireless Debugging off.
- Disable Developer Options (the app settings have a shortcut for this).
Both reduce your attack surface, and Bugbane will remind you about them.
Need help? #
Write to bugbane@osservatorionessuno.org, or check the FAQ. If you suspect you are being targeted, contact our technical support helpline.